The PixyCam is more than a camera. It does a camera's job by capturing image data, but it also processes those images to find "blobs" of certain colors. It distills information about those blobs into numbers that describe where the blob is in the picture, and how big it is.
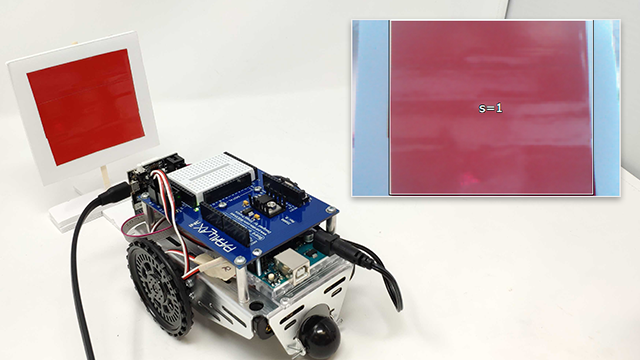
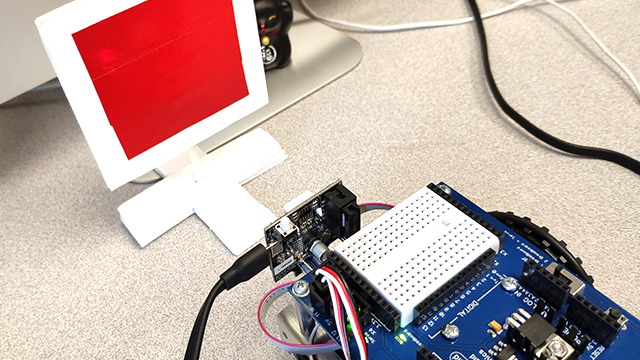
ShieldBot with PixyCam, and the signature that it sees
In this step, you will configure the PixyCam to look for blobs of a certain color. These colors are called "signatures".
Collect the Following Materials
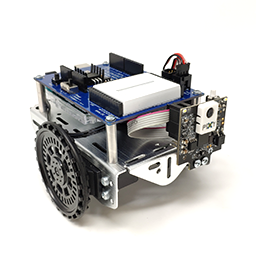
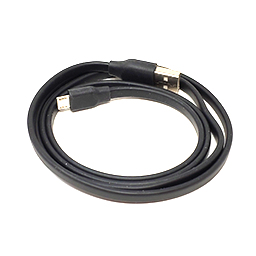
ShieldBot & PixyCamTest Parking AreaMicro USB Cable
Step 1: Connect PixyCam and Start PixyMon v2 Software
Connect the Pixy2 to your PC using the USB cable
Connect Micro USB to the PixyCam on ShieldBot
Open the PixyMon v2 software
The PixyMon2 software should start displaying the image feed from the PixyCam immediately. If it does not, make sure the Pixy2 is connected to your computer by USB. There is no power button; it should simply appear. For further troubleshooting steps, check out the documentation.
Configure the first signature for colored tape on the marker.
Place the robot so that it is facing the parking marker
Facing the PixyCam to Test Parking Area
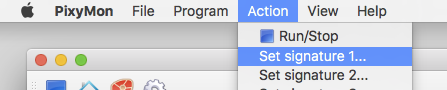
Open the Action menu on the PixyMon software
Select Set signature 1...
Go to Action > Set Signature 1...
DRAG A BOX on the screen that contains as much of the colored area as possible, without getting any of the surroundings.
This is important because a color (in this case, red), is actually made up of a range of colors, due to lighting differences.
Setting signature by dragging box
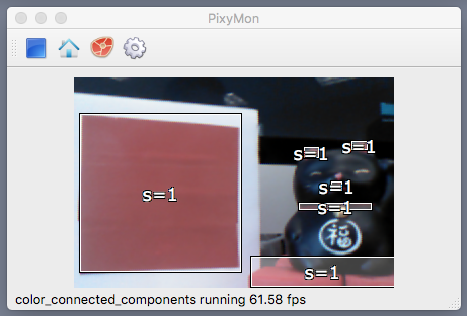
The PixyCam should immediately start showing a box around your parking marker, labeled s=1 (signature #1).
This means the PixyCam has been calibrated to recognize that color signature, and identify it any time it appears in the image.
If no rectangle appears, check the Program menu and select "color_connected_components", make sure that the Action menu's "Run/Stop" is set to run, and make sure View is set to "Blocks, Video".
Program > color_connected_components Action > Run/Stop
Other, smaller rectangles may also appear or flicker, if there are similarly-colored objects in the image. Setting the View menu to "Blocks, video, and detected pixels" will highlight the specific parts of the image that being detected as matching the color signature.
Multiple boxes will appear if similar to signature
Did You Know? Pixy Camera Specifications
The Pixy Camera is capable of capturing images at 1280x800 pixels, but it can't process that full resolution doe to RAM limitations. RAM (Random Access Memory) is what Pixy uses to store and process image data. Handling larger frames would require more RAM than Pixy has, so to keep things running smoothly in real-time, it reduces the resolution to 320x200 pixels. This lower resolution allows Pixy to analyze and track objects without overloading its memory. Pixy Camera Specifications
Check Your Understanding: Why does the Pixy Camera reduce its image resolution from 1280x800 pixels to 320x200 pixels?